posted on: December 7, 2023
Step 1
Using the Ultra Gentle Cleanser, cleanse the entire treatment area with a small amount of product and rinse thoroughly with warm water.

Step 2
Moisten a cotton pad with the Glycolic-Lactic Toner and wipe it over the entire treatment area thoroughly and evenly to degrease the skin.
.jpg)
Step 3
Apply a thin layer of 20% L-Lactic Peel on the entire treatment area with a fan brush. Leave it on for 3–5 minutes, as tolerated. Remove completely with a cool, wet towel and rinse as needed. The 20% L-Lactic Peel is not a self-neutralizing peel and must be removed completely from the skin.
.jpg)
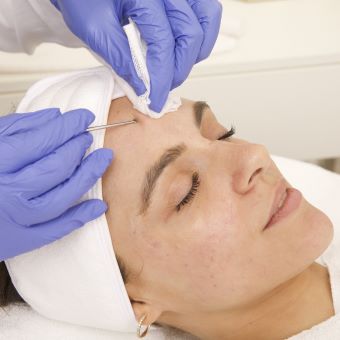
Step 4
The skin is now prepped from the peel solution and you may perform extractions. For noninflamed acne lesions, you may use the Custom Comedone Extractor in a size 0 or 00, or by applying gentle pressure with gauze-wrapped fingers. For inflamed acne lesions, use the gauze-wrapped finger method and apply a dab of the Sulfur Spot Treatment once extracted. Wipe the client’s face thoroughly with Sal-C Toner to disinfect. For pregnant and nursing clients, use the Calming Facial Toner.
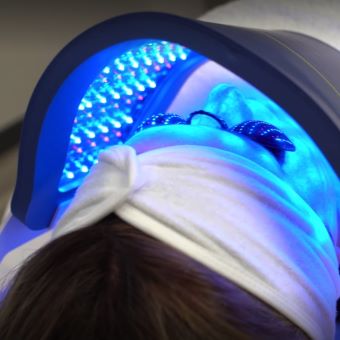
Step 5
Place a Celluma Pro Panel over the client’s face for 30 minutes of LED Light Therapy.
Step 6
Post-treatment, have the client gently apply Daily SPF 30 Lotion during the day and the Cran-Peptide Cream at night.
.jpg)
- Log in to post comments